Showing posts with label Easter. Show all posts

Sunday, March 14, 2021

Vintage Easter and Spring Decor Ideas

Now that we're counting down the days until spring, it's a good time to decorate for Easter. If you love vintage pieces, you can also incorporate them into your Easter and spring decor even if they didn't start out as Easter decorations.

This 1960s Metlox Poppytrail Lamb cookie jar is the latest piece I've added to my collection. Because it's a lamb, I thought it would fit right in with my Easter decorations. It still has the original crier in the hat and is in perfect working condition with no chips or cracks. We found this at an antique mall a few years ago while on vacation in the fall, so not only was I surprised to find this, but I think Ryan was surprised to hear that I wanted it to add to our Easter decorations (when I'm sure everyone else had their mind set on Halloween or maybe even Christmas decorations that time of year). The owner of the antique mall let us walk away with this guy for $30. We've since found him on Etsy and eBay for $75-$100, so we got a great deal on him, especially since usually the crier is no longer working and ours still works!


The next two pieces also didn't start out as Easter decorations, but that's how I use them now. Both are mid-century planters, so they're a little older than the cookie jar. The first is a lamb planter. These were popular baby shower gifts in the 1950s. I got this at a different antique mall from a vendor that was closing their booth. Everything in the booth was 50% off, so this was $3.00. This one has a yellow bow, but since they were originally baby shower planters, they often have pink or blue bows. All perfect colors to match your Easter decorations! These turn up at thrift stores, and you can also find them on Etsy and eBay, so it's easy to add a few extra lambs to your Easter decorations if you'd like to!

The second is a little chick hatching out of an egg and it's marked Japan. I got this one at a local thrift store for 99 cents. He's nestled into the table decorations and because of his size, he'd make a great Easter candy dish.


Next, we have a few vintage pieces that I've displayed together. I found this 1960s Inarco cake stand at a thrift store for $4. It features an embossed pattern of green apples and daisies, which is perfect for spring decor. I've used it as a pedestal for my trio of vintage 1950s Lefton rabbits.


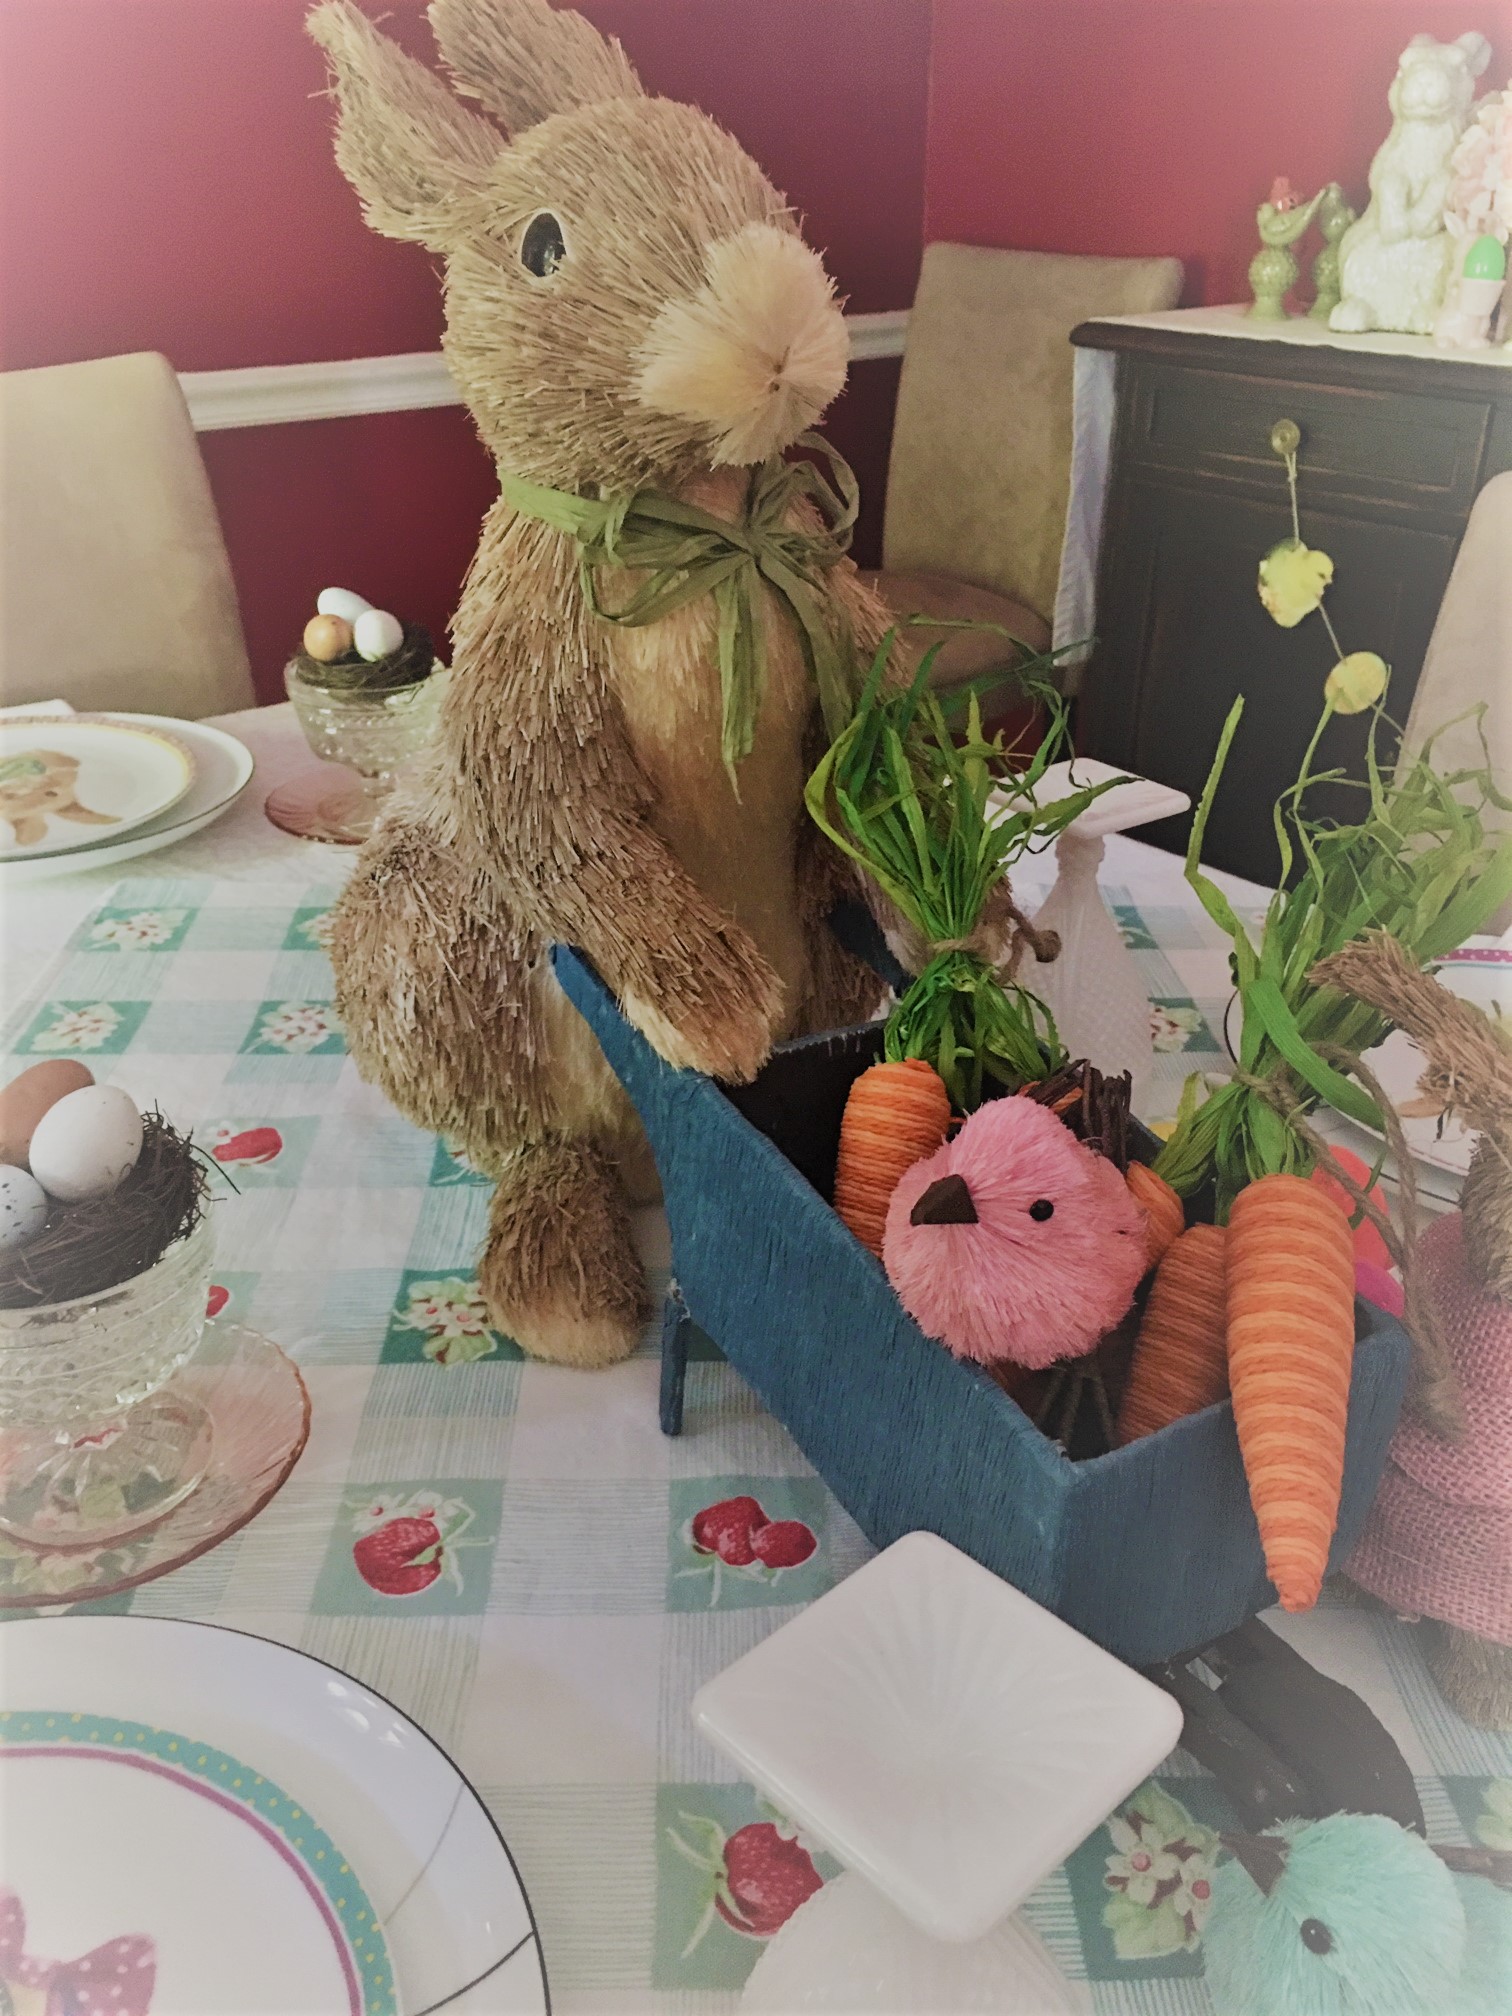
I've got a few vintage pieces incorporated into the table setting, as well. At each place setting, I have a Depression Glass saucer topped with a vintage Anchor Hocking Champagne/Tall Sherbet Dish in the Wexford pattern. I have the sherbert glass filled with a mini bird's nest and eggs, but you could also fill it with Easter candy or an actual dessert for Easter dinner.


I have also added a vintage Smith Glass Early American Milk Glass Water Goblet in the crosshatch pattern to each place setting.


Bonus Tip:

Here's a bonus spring decorating tip that will work for you if your daffodils are blooming around the same time that you've decorated for Easter. This makes an easy centerpiece if you like the look of fresh flowers. And you can continue to refresh the centerpiece with different flowers from your garden to keep it out past Easter and well into spring. 


I like to collect all of my vintage milk glass bud vases and use them to display fresh daffodil blooms. You could also use your vintage milk glass vases to display other spring blooming flowers, such as tulips, irises, sweet peas, peonies, stock flowers (gillyflowers), lily of the valley, ranunculus, freesia, gardenias, or forsythia branches.

For this display, I used milk glass vases in varying heights to add visual interest. Milk glass vases are available individually at thrift stores, estate sales, and antique malls, but you can often find collections of them on Etsy or eBay if you'd like to buy a whole group at once.

Milk glass vases are easy to decorate for different seasons. You can see these same vases decorated for both Halloween and transitional Halloween to fall/Thanksgiving decor in our Halloween Home Tour. And pop over to our 12 Vintage Days of Christmas post to see how to decorate milk glass for Christmas.


I hope this gives you some ideas about how you can repurpose vintage items to decorate for Easter. For more vintage Easter and spring decorating ideas, make sure to check out Harris Sister Deanna's Spring Home Tour

Spring will be here before you know it!

Monday, March 27, 2017

Carrot Cake with Cream Cheese Frosting

Spring is the perfect time of year to make a homemade carrot cake. With Easter right around the corner, this cake would be a perfect dessert for your Easter celebration. (Because what does the Easter Bunny like more than carrots? Carrot cake, right?)

And don't let a made from scratch carrot cake intimidate you! This recipe is really easy to make, and it tastes delicious!

Harris Sisters Carrot Cake

Carrot Cake

1¼ cups unsweetened applesauce
2 cups granulated sugar
3 eggs, room temperature
2 cups all­ purpose flour
1 tsp baking soda
1½ tsp baking powder
½ tsp salt
1 tsp cinnamon
2 cups grated carrots
1 cup shredded sweetened coconut
1 cup chopped nuts
1 tsp vanilla
1 cup crushed pineapple (not drained)

  1. Preheat oven to 350 degrees. Grease and flour two 9-inch cake pans. Set aside.
  2. In large mixing bowl, combine applesauce, sugar, and eggs. 
  3. Mix in flour, baking soda, baking powder, salt, and cinnamon. 
  4. Stir in carrots, coconut, nuts, vanilla, and pineapple.
  5. Divide cake batter evenly between two prepared pans.
  6. Bake for 40-45 minutes or until a toothpick inserted into the center of the cake comes out clean.
  7. Let cakes cool for 10 minutes in the pans. Then, remove to cooling racks and let cool completely.
  8. Prepare cream cheese frosting while cakes cool (recipe follows).

Cream Cheese Frosting

1 cup butter (softened)
16 oz cream cheese (softened)
2 tsp vanilla
2 lbs confectioners sugar

  1. Place the butter and cream cheese in a large mixing bowl. Blend with an electric mixer on low speed until fluffy, about 30 seconds.
  2. Add the confectioners sugar and vanilla. Blend with the mixer on low speed until the sugar is incorporated, 1 minute. Increase the speed to medium and beat until light and fluffy, 1 minute more. 
  3. Use to frost the top and sides of the cake of your choice.
  4. Refrigerate frosted cake for an hour before serving for best results.
Harris Sisters Carrot Cake


If you're looking for other recipes for your Easter get-together, give these tried and true Harris Sisters recipes a try:

Wednesday, March 23, 2016

How to Dye Easter Eggs with Food Coloring

Now, I know what you're thinking: get out the vinegar and some food coloring and a bunch of little cups and plunk the eggs in the cups. Pull them in and out of the cups to check their color progress until you're happy?

Nope! ;-)

This year, we tried a new method and we were thrilled with how easy it was, so we thought we'd share it with you. It was super fast AND it gave the eggs a cool marbled effect. (Just in case they didn't turn out, we put some other eggs in the old-standby cups mentioned above - and these were all done well in advance of those eggs. Don't know if we'll ever go back to the old method again!)


Hand Marbled Easter Eggs Using Food Coloring


  • Food Coloring in colors of choice
  • Plastic gloves or quart-sized Ziploc bags to cover your hands
  • Paper towels

1. Hard boil eggs and allow to cool thoroughly.
2. Cover your work surface in paper towels. Cover your hands in gloves or bags.
3. Wrap a cooled hard-boiled egg in a paper towel.
4. Drop different colors of food coloring onto the covered egg (through the paper towel), ensuring that the food coloring soaks through to the egg.


5. Unwrap the egg to reveal the marble effect.
6. The saturated paper towel can be used to dye more than one egg or to touch up areas on other eggs that may have not received as much dye.


We chose to use a combination of yellow, blue, and green. Our eggs looked like this. Not bad for a few minutes work and supplies you probably already have in your kitchen!


If you're looking for other fun stuff to do with your kids this Spring, check out our 100 Activities to Do This Spring list. Happy Easter!

Wednesday, March 25, 2015

Easter Tablescape

Well, it's that time of year once again.  Spring has definitely sprung, but unfortunately I have been a bit behind in getting my table set for the new season this go round.  So instead of setting it in my usual Easter decor, I decided to change up the look just a little this year.  Easter is only a week away, and I sure didn't want to have to undo this table as soon as I got it all put out.  

So here's the finished product. I decided to go for more of a "Springtime" flora and fauna approach, and leave the Easter eggs for another year.  


And to compare, this was last year's Easter table, decidedly more "Eastery", I think.


I have always said that if I had enough jadeite to set a full table with, I would certainly use it for Springtime.  Well, my supply of jadeite has not magically increased, but there's no time like the present.  So I dug out all that I have and sprinkled it all over the table.  I kept a few of my favorite Spring table pieces and voila- there you have it!


No, these aren't Easter eggs, but Springtime does call for eggs of some sort.  I just love these in my jadeite mixing bowl.  


Pink jadeite, anyone?  This mini cake stand is the only pink piece I have but I do love it, and some of my very favorite vintage pieces go great with it. 


I couldn't resist setting my table with pretty pastel colors.   


So I called on some of my very favorite pieces to make a return to the table this year. 


And this bunny will always be my favorite.  He is so pretty and all his veggies take my mind to Springtime without necessarily being overly "Eastery".


So there you have it.  The table it all set, and we are ready for yet another beautiful Spring here. I hope you are getting ready for the season too! 

Saturday, April 19, 2014

Quick and Easy Easter Decorating Tips

It's a cold and rainy Saturday here today and we're all prepped and ready for Easter tomorrow. 


Of course, nobody wants to step foot outside of the house today unless they ABSOLUTELY have to since the weather is so icky. So, I thought I'd share these last minute Easter tips should you need help with any last minute Easter prep.

******************************

The first tip is for creating your own Easter grass. I have two baskets that I use to display eggs, but I had no Easter grass for them. So, I set to work with this simple tip.

First pick out as many paper grocery bags as you have baskets to fill with Easter grass (you'll need at least one large grocery bag per basket):


Open each grocery bag along the back and bottom seams to form one long strip of paper. Then tear this strip of paper into smaller strips that will fit into your home office paper shredder. Feed the smaller strips through the paper shredder one at a time:


Here are a few photos of the paper bag Easter grass "in action" in the two baskets that I needed it for:


Notes: 

If your shredder is a cross cut shredder and you have the option to turn that off, please do that to avoid multiple small pieces of Easter grass. Otherwise, this is still a viable option if your basket has a solid bottom.

If you prefer colored Easter grass instead of neutral, switch to colored paper instead of grocery bags. Flyers are routinely sent home from school almost daily on colored paper. Save those flyers for the month prior to Easter and you'll be up to your eyeballs in colorful Easter grass!

******************************

The second tip is for egg cups. Have more eggs to display than you have egg cups? Or do your fancy egg cups only hold a certain number of eggs (and NOT the number of eggs you have to display)? 

That second scenario was our dilemma this year. Inevitably we end up with a few eggs that are oddly colored. This year we had a few browns and a black. :-/

So, I pulled out my super-schmancy Elvis shot glasses to display the beautifully colored eggs. Here they are among the other Easter decor:


About the same size as my vintage Lefton rabbits:


The shot glasses turned out to be the perfect size to hold large size Easter eggs. 

Note:
These shot glasses happen to have Easter colors featured prominently, but if your shot glasses don't have Easter colors, consider turning the front design to the back so that only the egg is featured in a clear glass.

Hope you guys have a Happy Easter!

Wednesday, April 9, 2014

Decorating for Easter and Spring

Well, we are only a few short weeks away from Easter Sunday!  Hard to believe; this month is just flying by!!  But I do love this time of year.  The weather is starting to warm.  The trees are blooming, the early spring flowers are poking up in the yard, and it's time once again to decorate for a new season!

I have a few new pieces that I have added to my Springtime decor this year, so let's start there. 

These sweet little salt and pepper shakers came from the Vermont Country Store.  They are new, but are modeled after a vintage pair.  They look very 1960's to me, and I love them!!


Also new for this year, are these "tea for one" tea pots.  In case you aren't familiar with tea for one pots, the top part holds hot water and your tea bag.  You let it steep and pour it into your cup on the bottom.  Each pot holds a cup or two of tea.  I actually purchased two of these- one for me and one for hubbie.  We both love hot tea, and I plan to use these all year long- not just at Easter.  However, their sweet bunny and garden theme makes them perfect for my springtime table!


I also snagged these Peter Rabbit napkins for this year.  Aren't they just adorable?


And this jelly bean jar came from Etsy.  Of course, I filled it with jelly beans, and not just any jelly beans- the original Brach's jelly bird eggs.  These are the jelly beans of my youth- all the standard flavors including those licorice-flavored black ones.  I don't eat those, but I love all the rest of the flavors.  Nostalgia at it's finest!


And I almost forgot that I scored these sweet Lefton chicks last year at one of our little antique stores we frequent.  They are old stock, and lovely.  I have them in the dining room this year.   


Oh, and a couple of other new pieces for this year- these foil bunnies were a birthday present from John's parents this year.  Don't they look just like big chocolate rabbits wrapped in Easter foil?  Love them!!


And if you have followed our blog since last year, you might also remember some of these familiar favorite decorations, starting with some vintage- inspired Easter cards that I displayed on my fridge this year. 


And then these sweet little party chicks perched high atop the fridge.... 


I found this small planter on Etsy several years ago.  He graces my kitchen table this time of year.


Same with these egg cups.  I have a set of four that I found on Etsy a couple of years back, and I love bringing them out each year. 


But, these may be my favorites.  These little lamb and chick cups are also old, and I have had them for several years myself.  I love them so much!


And finally, here's a full look at the kitchen table all duded up for Easter.  That's my prized Humpty Dumpty cookie jar front and center, and you will see glimpses of many of the other pieces I have already pointed out. 


So, that's the nickel tour.  Spring has definitely sprung here at our house, even if it's just on the inside!  The outside will catch up soon enough.  :)

You Might Also Be Interested In