Tuesday, February 25, 2014

100 Things to Do This Spring

If you're a long-time reader, then you know two things 1) I like to jump the gun with my seasonal lists and 2) this completes our series of seasonal lists - woot! If you're just now visiting, please make sure to pop over to our 100 Things to Do This Summer, 100 Things to Do This Fall, and 100 Things to Do This Winter lists and Pin those for future use.

Today, I am jumping the gun because I cannot wait for warmer weather and the opportunity to spend some time outside. And I bet you feel the same way. (Spring runs from March 20 through June 21 this year for those of you keeping track.) This list includes some ideas of activities you might want to consider doing with your family during Spring.

I have included photos and links of the Harris Sisters' own experiences with these suggestions in many instances, and I've also included links for some fun new things that we might try. Hope you enjoy!

100 Activities to Do This Spring

1. Make Smoothies
2. Make a Craft with Duct Tape
3. Look for Rainbows
5. Play Tennis
6. Swing on the Swing Set


7. Paint Flowerpots
8. Make Tin Can Telephones
9. Go to Local Garage Sales to Look for Treasures
10. Make a Pie
11. Fly a Kite
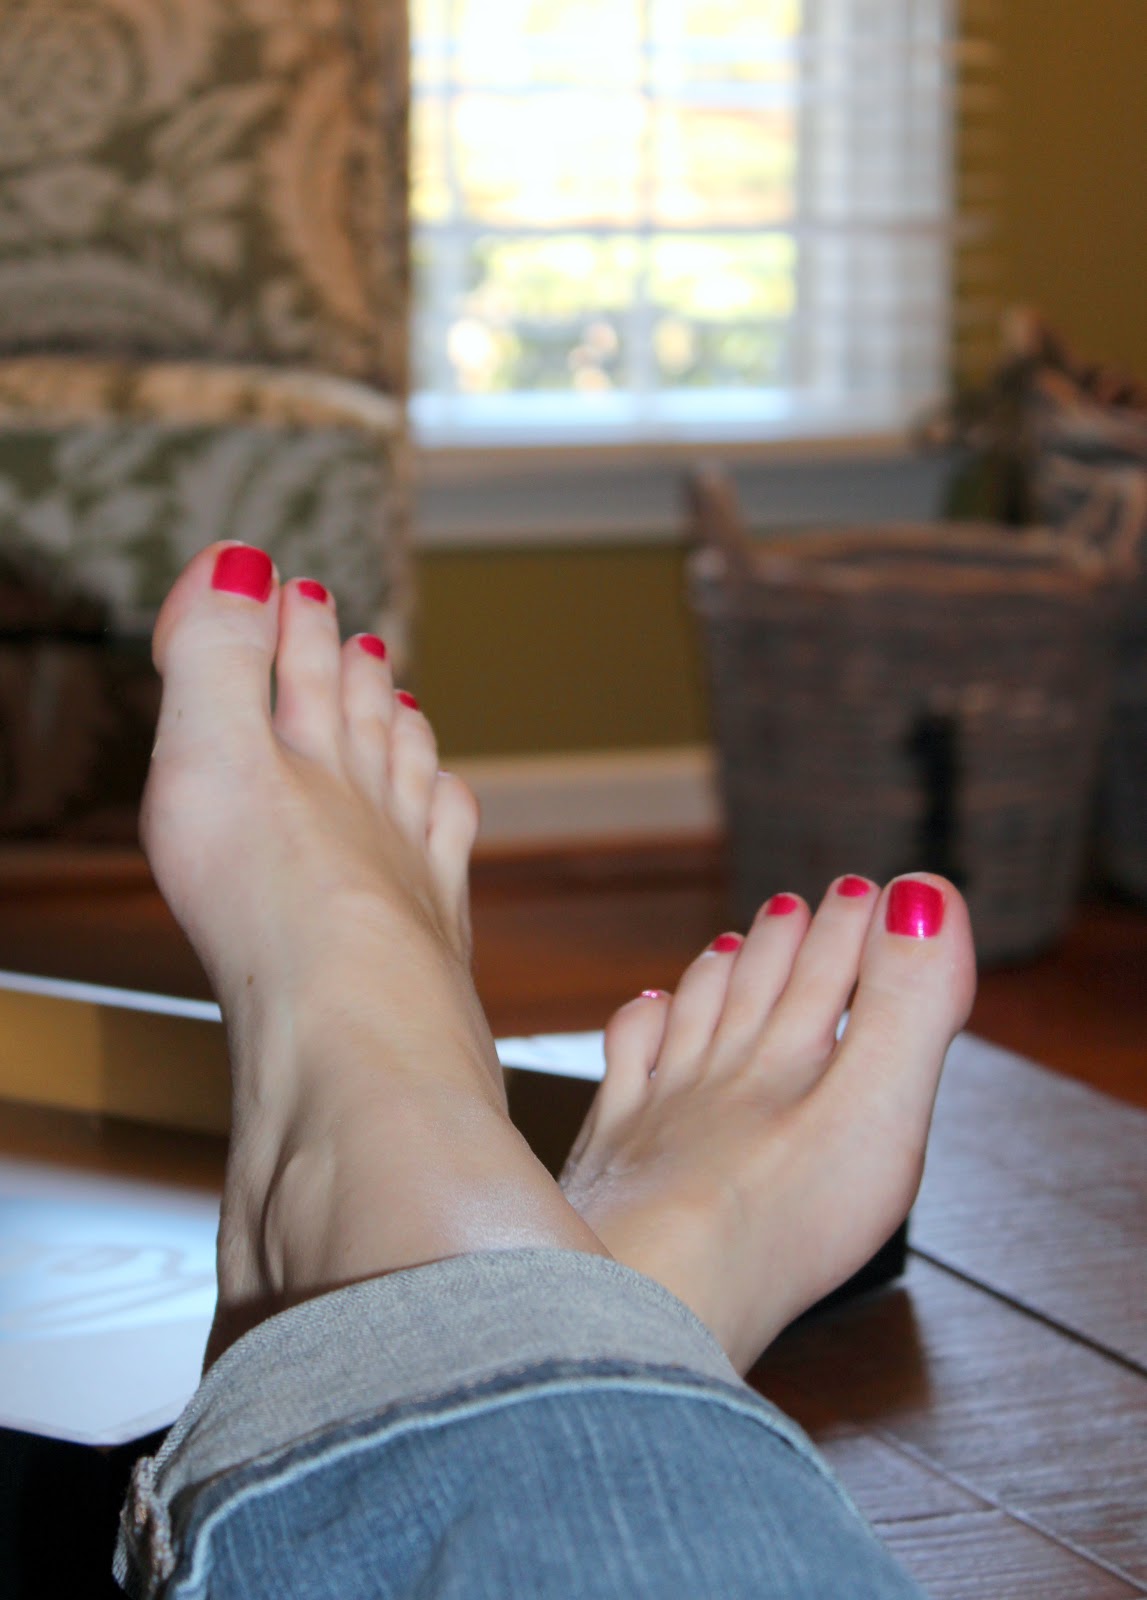
12. Paint Your Nails


13. Play Hide and Seek
14. Go Bird Watching
15. Make a Peanut Butter and Nutella Sandwich
16. Have a Three-Legged Race
17. Make a Wind Chime
18. Make Rock Candy


19. Play Hot Potato
20. Make Fresh Lemonade
21. Watch the Sunset
22. Play Frisbee
23. Prank Someone on April Fool’s Day
24. Fill a Your Feeders with Birdseed


25. Climb a Tree
26. Teach the Kids How to Sing Old Camp Songs (Great Green Gobs of Gritty, Grimy Gopher Guts . . .)
27. Make Crowns, Bracelets, or Necklaces Out of Flowers
28. Go on a Paddle Boat Ride
29. Make Sidewalk Art with Chalk
30. Hang Bird Houses


31. Play Tag
32. Have a Pillow Fight
33. Split the Stems of Carnations, Place the Stem Pieces in Different Containers, and Add Different Food Coloring to the Water in Each Container to Color the Flowers
34. Make a Finger Painting
35. Make a Bird Feeder Out of a Pine Cone and Peanut Butter Rolled in Birdseed
36. Play a Game of Jacks


37. Splash in Puddles After the Rain
38. Start a Compost Bin
39. Visit a Botanical Garden
40. Make Cupcakes
41. Play Four Square
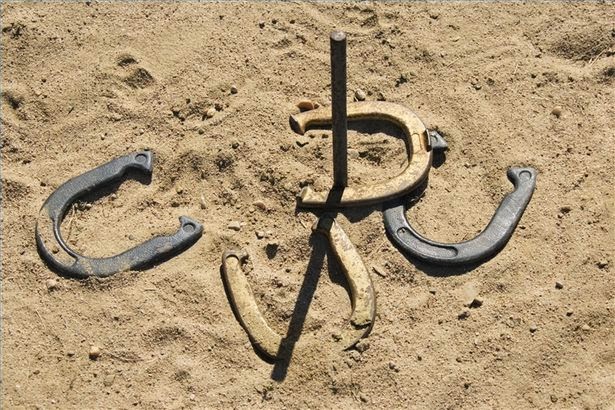
42. Play a Game of Horseshoes


43. Visit a Farm
44. Make Popsicles
45. Try an Exquisite Corpse Drawing Exercise with Two Other People  
46. Play a Game of Red Rover
47. Pick Fresh Flowers
48. Play a Game of Soccer


49. Have a Jump Rope Competition
50. Skip Rocks Across a Pond
51. Make Something with Paper Mache
52. Play Catch
53. Jump on a Trampoline
54. Go for a Train Ride


55. Bake a Carrot Cake
56. Make Shadow Puppets
57. Attend an Outdoor Concert
58. Plant Flowers
59. Feed the Ducks
60. Make a Wish on a Dandelion


61. Play Badminton
62. Start Planning Your Summer Vacation
64. Make Bird Nest Candy by Putting Candy Eggs on Top of Butterscotch Haystacks
65. Make Dinosaur Egg Soap 


67. Play Tic Tac Toe
68. Make Muffins
69. Eat Your Favorite Jelly Beans While They’re Available
70. Eat Cadbury Crème Eggs While They’re Available
71. Eat Peeps While They’re Available
72. If Uncertain If You Should Eat Peeps, Take a Poll to Determine What They’re Good For


77. Have an Easter Egg Hunt


78. Plan to Reuse or Upcycle Something for Earth Day
79. Play Red Light Green Light
80. Research Your Family History/Start a Family Tree
81. Eat at Your Favorite Mexican Restaurant for Cinco de Mayo
82. OR Make Your Favorite Mexican Foods at Home
83. Smash a Pinata!


84. Make a Mother’s Day Card for Your Mom
85. Go on a Canoe Ride
86. Have a Cookout on Memorial Day
87. Go to a Memorial Day Parade
88. Play a Game of Cornhole


89. Make a Father’s Day Card for Your Dad
90. Play Cards
91. OR Make a House Out of Cards
92. OR Put a Card in the Spokes of Your Bike Wheel to See What Noise It Makes (note - I would probably use a playing card instead of a baseball card so that you don't accidentally ruin anything valuable)


93. Play Volleyball
94. Skip to My Lou!
95. Make Fresh Fruit Salad and Fruit Dip
96. Play Marbles


97. Play London Bridge
98. Start a Rock Collection
100. Take Photos of the Cherry Blossoms


This post contains affiliate links.

Saturday, February 22, 2014

Sweet Corn Salsa

This recipe is definitely a keeper - it comes together really quickly AND it's not your average salsa. So, you're sure to impress your guests with your schmancy appetizer.


Sweet Corn Salsa
1 15 oz can white corn, drained
1 15 oz can black beans, rinsed and drained
6 green onions, chopped
1 4 oz container feta cheese
1/3 cup apple cider vinegar
1/3 cup granulated sugar
1/3 cup olive oil

  1. Mix corn, black beans, green onions, and feta cheese in a medium mixing bowl. Set aside.
  2. Measure apple cider vinegar in a measuring cup. Add sugar to mixing cup. Whisk until incorporated. Add oil to measuring cup and whisk with first two ingredients.
  3. Pour marinade into mixing bowl and mix all ingredients thoroughly.
  4. Serve with baked pita chips.
Notes: 

This time, we used bagged pita chips. However, these are easy to make yourself. Buy pitas, divide each pocket in half so that you have two circles, and then cut each circle into 6 triangles. Brush the triangles with a little olive oil and sprinkle with your choice of spices (we use pepper and garlic powder, but we've also tried chili powder before). Bake at 400 degrees for 5 minutes.

Store this salsa in the refrigerator. Serve cold out of the refrigerator or at room temperature.

Friday, February 21, 2014

Happy Birthday, Harris Twins!

By now, you surely know that two of the three Harris sisters are, in fact, twins.  And it just so happens that today is the birthday of this semi-famous set of twins.  Sure, we may not be as famous as the Doublemint Twins, or Ann Landers and Abigail van Buren, or even Jenna and Barbara Bush. 

Incidentally, I must admit that up until the writing of this post, I was positive that Eva and Zsa Zsa Gabor were twins.  But now that Wikipedia has corrected me on that notion, all I can say is we are surely more famous than those faux Gabor twins.  :)

But hey, we are famous in our own minds, and that counts for something.  At least to us...  So don't dash our dreams.  It is our birthday after all.  

So here's to you, twin.  There's no one I would rather share this day with.  

The Harris Twins- Deanna and Donna- circa 1980- looking like trouble times two in those nifty vests

Thursday, February 20, 2014

One Man's Trash - Vintage Baby Clothes

Let me begin by saying this may just be one of my greatest finds to date.  And how anyone could consider these sweet little vintage baby clothes "trash" is beyond me, but then I suppose you can't hold onto *everything* forever.  Although, I sure am glad we were in the right place at the right time to scoop these up. 

If you have been following our blog for a little while, you might remember that my husband and I are expecting a little girl in just a few short months.  Needless to say, we are in all business mode getting her nursery ready, which led us to a vintage shop just outside of town a couple of weekends ago in search of chalk paint supplies we needed to refinish our vintage changing table.  


My husband was busy looking at paint and chatting with the shop owner while I decided to wander about the store.  In my stroll, I happened upon a basket full of old baby clothes.  Only one of them was marked with a price, so I just started rummaging and picking out the best of the best in hopes of getting a good "package" deal. 

As it turns out, the shop owner had the story behind these sweet little duds, and did, in fact, cut me a sweet deal to boot.  These charming little frocks came from an estate sale where a couple in their 90's recently passed away.  They had saved all their children's clothes in boxes in their attic.  The little girl who once wore these is now in her 60's and wanted to clear out the attic as best she could.   So the shop owner bought the whole lot, and I, in turn, bought quite a few pieces at a sweet deal of just $4 per item. 

So here's what we got.  I brought home four darling little dresses- three of them blue, and one pink.  I also scored the sweetest little baby coat, pictured in the back right in mint green. 


Here's the close-up of the coat.  Notice the pearl snaps and "built-in" mittens.  How adorable!


But wait- there's more!  Two bonnets!!  And these are the real deal.  This little cream bonnet has a pink bow and pink satin ribbons.  Oh my...


And the little blue bonnet is white eyelet lace with blue trim and a flower detail.  


They certainly don't make 'em like this anymore.  I am estimating that these baby garments are from the early 1950's.  And I'm pretty sure at least a couple of the dresses are handmade.  I am still in shock and awe at our luck.   These sweet little clothes will be prominently displayed in little Peanut's nursery, which is going to have an old-fashioned flare anyway, so they will certainly fit right in.  And I can just see our little Peanut modeling a few of these fine outfits for us in the future, so stay tuned.  This may not be the last time you see these cuties!

Tuesday, February 18, 2014

Cranberry Pomegranate Sangria

This was quite tasty if I do say so myself (and I do say so - Hiccup!) :-) I'll definitely be putting this one into rotation for holidays. Hey, it's red, which means it goes with Valentine's Day AS WELL AS Memorial Day, July 4th, Thanksgiving, and Christmas! How often do you find a drink that will cover all of those bases?


Cranberry Pomegranate Sangria
1 750 mL bottle of red wine of choice
4 cups cranberry pomegranate juice
2 cups POM Wonderful pomegranate juice
1 cup orange juice
3/4 cup simple syrup (recipe follows)
1 pineapple, sliced, juice reserved
1 orange, sliced
Sprite for serving
  1. Combine all ingredients (including juice reserved from pineapple) in a large pitcher.
  2. Refrigerate at least 4 hours or overnight.
  3. To serve, add ice to glasses. Use tongs to remove fruit from pitcher for each glass. Pour sangria and top off each glass with Sprite.
Simple Syrup
1 part sugar
1 part water
  1. In a saucepan, boil sugar and water over medium-high heat until sugar has dissolved. 
  2. Remove from heat and let cool completely before using.
  3. To store, refrigerate, up to 2 months.
Notes: 
Because of the red juices in this recipe, if you happen to have or even prefer white wine, you can use that instead and the recipe will still turn out the same pretty red color. I've made it once with white and once with red and it has been great both times.

You can substitute cranberry juice for the cranberry pomegranate juice if you can't find it.

Friday, February 14, 2014

Be Mine, Valentine

Happy Valentine's Day, everyone!  I can hardly believe it's already mid-February.  This year is just flying by. Tonight, we are staying in and cooking a nice romantic dinner for two.  And tomorrow will be our special date night to the spot where we had our first date.  We always look forward to that too. 

Here's a quick look at how our house is duded up for just this time of year.  

The dining room will be where we eat tonight.  This is a huge departure for us, but every now and again for special nights such as this, we act like grown-ups and actually take advantage of this room. 


And here's the kitchen table.  We eat here almost every other night.   


These little plates are new for this year.  They are from Pottery Barn Kids, and are on sale now, if you are interested in scoring a few of your own.  


Here's our little wine nook.  Check out my vintage Valentine cards, my bottle of Chocolate box wine, and my special tea towel from the Loveless Cafe here in Nashville. 


See what it says?  Perfect for Valentine's, I thought!


And look who received her very first Valentine cards this year.  Peanut isn't even here yet, and she already has a couple of the finest Valentines around- her Grammie and P-pa.  


And did you see?  They both feature a cocker spaniel!!  Be still my heart!  That is surely in honor of my other dear Valentine, our sweet pup- Isabel Lucille


Oh, it's already been a good Valentine's Day here, and there's still so much more in store.  Hope you are sharing this special day with all your sweet Valentines!  Enjoy!!

Reese's Peanut Butter Cake

North Carolina has recently been hit by a ton of snow. And while conventional Southern wisdom before any winter weather event says, "run to the store and buy up all of the bread, eggs, and milk," I avoid that like the plague.

I knew this storm was going to hit us hard, and GASP! I hadn't even gone to the store LAST week, but I surveyed what we had in the refrigerator and in the pantry and STILL decided that I wasn't setting foot in the grocery store. Seems more dangerous than black ice if you ask me. :-)

Anyhoot, when stuck in the house with an eight year old and a five year old for a couple of days in a row, you have to do something to entertain them between sledding and snowball fights, so I looked to see if I could find the ingredients to bake something yummy. (They like to bake.) 

We had the ingredients for this recipe, and it is just in time for Valentine's Day - couldn't have been more perfect. Sweets for my sweets! I think you'll like it too.


Reese's Peanut Butter Cake
1/2 cup creamy peanut butter
1 stick butter, softened
4 eggs
1, 16.5 oz package butter cake mix
2/3 cup water
Peanut Butter Fudge Frosting (recipe follows)
8 miniature Reese's Peanut Butter Cups, chopped coarsely
Hershey's Syrup for garnish

  1. Preheat oven to 325 degrees. Grease and flour two 9 inch round cake pans.
  2. Combine 1/2 cup peanut butter and 1 stick butter. Cream until light and fluffy. Add eggs one at a time, mixing after each one. Add cake mix alternately with water. Mix until just combined.
  3. Spread batter into prepared pans.
  4. Bake at 325 degrees for 25-30 minutes or until cake tests done with toothpick.
  5. Allow cakes to cool for 10 minutes, then turn out onto cooling racks to cool completely. Frost with Peanut Butter Fudge Frosting (recipe follows) when cool.
  6. Top with chopped Reese's Peanut Butter Cups. Drizzle with Hershey's Syrup.

Peanut Butter Fudge Frosting
1 cup peanut butter
1 stick butter, softened
4 cups confectioner's sugar
2/3 cup milk (approximate)

  1. Combine 1 cup peanut butter and 1 stick butter. Cream until light and fluffy.
  2. Add confectioner's sugar alternately with milk. Mix until combined. Only add enough milk to ensure that frosting is of spreadable consistency.
  3. Apply to cool cake as per directions above.
Note: This recipe was originally written without the candy and syrup garnish, so if you have a friend or family member who is crazy for peanut butter (but not so much for chocolate), then leave those out and you'll have the perfect recipe for them.

If you're a fan of "doctored" cake mix cakes, make sure to check out these other Harris Sisters' recipes:

Triple Strawberry Cake
Confetti Cake with Buttercream Frosting


Wednesday, February 12, 2014

How to Remove Ice from Steps and Walkways Without Using Salt

With a ton of snow (and maybe ice) headed our way, THIS is a tip that we can surely use. 

I haven't tried it, but considering we don't have any ice melter in the house, and we DO have these ingredients, I'm going to give it a try. Certainly worth passing along:


Mix together:
1 tsp Dawn dishwashing liquid
1 Tbsp rubbing alcohol
1/2 gallon hot/warm water

First remove whatever snow and ice that you can, and then pour the mixture on it. 

It supposedly works like this: The dishwashing liquid helps prevent the ice from re-freezing, and the alcohol makes the ice melt faster.

Again, I have not tried this and I will be trying it during this snow event. I will report back if it, in fact, works. So, if for any reason it does not work, don't shoot the messenger. :-) As with anything, you never know until you try it.

Good luck and stay safe. And if you haven't seen our snow cream recipe, that might also be something to try out if you're going to get snow.


***************************UPDATE TO ORIGINAL POST***************************

I promised that I would give this a try and let everyone know how it worked out. Well, first let me say that over the course of three days, North Carolina was walloped with a winter storm of epic proportions. It has already been documented on Wikipedia, if that tells you how significant this weather event has been in this area. So, it should come as no surprise that not everyone was exactly prepared (including yours truly), and we've turned to scouring the Interwebs for methods of de-icing steps and walkways.

My findings regarding this particular method follow. Here's the "before" shot of my front steps. I left these photos completely untouched:


As per the instructions, I shoveled off as much snow as I could and found that there was a good bit of ice on the bottom layer. I mixed up double the recipe using tap water that was as hot as I could get it and poured it on the icy layer that was left. That layer immediately turned to slush (no doubt because of the hot water that I used). I swept major bits of slush off the steps, and this is what they looked like later that same day and since.


This post contains affiliate links.

Monday, February 10, 2014

One Man's Trash - Vintage Playing Cards Turned Valentine's Garland

I suppose that these barely fit into the category of One Man's Trash. I mean, they're not all that vintage. 


But it is kind of neat to find an old set of cards and rather than leaving them in their current state of disrepair, a Valentine's garland seemed to be a fitting project for them. (And considering card players are always on the lookout for a "fresh deck of cards" - you might come across some of these easier than you'd think.)


Look at the date on the blue box of cards. Why they're marked as Atlanta 1996 Olympics! And look at the red box, it's marked as Rider Back - we'll get to that soon.

First you'll need to gather your materials:

  • Playing cards
  • Hole punch
  • Ribbon
  • Scissors

Remove the heart cards from the deck plus any additional cards to use for their red backs. Set aside.


Next, choose a card that you'll not be using in your garland. (This is in case you screw up the next step and have to try again - luckily I got it right on one try!)

Evenly punch two holes at the top of this card. You will use this card as your template for punching holes in the other cards for your garland.


Carefully line up the template card with each heart card and punch holes in the heart card through the holes on the template card. 

Cut a piece of ribbon that is the length you want your finished garland plus hanging loops. This length should equal the width of all cards (side by side), plus approximately 2 1/2 to 3 inches between the cards, plus extra length on the ends to make loops for hanging. (For example, my garland has 16 cards and my joining ribbon is 9 feet long.) 

Thread the cards onto the joining ribbon in random order, leaving 2 1/2 to 3 inches between the cards. Make sure to leave enough room on each end to tie loops. When finished threading cards, tie loops for hanging.

Cut coordinating ribbon into 6 inch lengths. Randomly tie 2 to 3 ribbons into each space between cards and on each loop knot.

Hang garland and enjoy!


Remember those Rider Back cards? Well, Bicycle Playing cards have several different back designs. Their Rider Back design features a Cupid riding a bicycle. When I noticed this, I decided to include some of those in the garland, which you can see in the photo below right next to the King and Queen of Hearts. 

But, if you happen upon a deck that is a little low on heart cards (or if you just want to make a bigger garland), red backed cards would be a great way to extend the garland, even if they don't happen to have Cupid on them.


Saturday, February 8, 2014

Double Duty Fridge

Not too long ago, I discovered that one of Emma's favorite books had been the unfortunate recipient of some renegade rainwater.  It had such wonderful illustrations, we couldn't bare to part with it, so I carefully cut out what I could salvage and adhered them to magnets also cut to size.

Now Emma can put the story in order right on the refrigerator.  That was, after all, one of my favorite preschool past times.


I actually got the idea over Christmas when I had some nativity cutouts in the Christmas curriculum we used, so I went ahead and made those too!

Then, today I came across this awesome little article over on For the Family.  There were some really good ideas on how to incorporate prayer into a busy busy life.  The one that I was immediately drawn to was a prayer board.  They found the idea on Pinterest which I do use every now and then. However, I have taken note that some people feel this way about the Pinterest:


and I completely understand the sentiment.  The prayer board from Pinterest was beautiful and even the lady endorsing it said that she had not constructed hers yet, so I give to you my prayer board:


Note:  this is the side of my fridge.  (the one without the storyboard and nativity magnets)  I simply raided Emma's letter magnets, (and thankfully found the right ones) moved my calendar and weekly DG coupon over, and Voila!  (and, yes, that is binoculars hanging by my front door--you never know when you may need to scout something out!)  So, the general idea is to add prayer requests as you get them, and then, whenever you pray together as a family, say before meals, you have them handy.

Pinterest is a great tool.  I think people get sucked in to the "Keeping up with the Jones'" complex.  I see it, rather, as a jumping off point.  I usually just visit if I am already scouting something out, and while I do love a good craft project, I am also continuously on a minimizing mission in my house, so great ideas are always welcome, extra "stuff"-- not so much.

You Might Also Be Interested In